:::: MENU ::::
Browsing posts in: Home Automation

Setting Up Text-to-Speech in Home Assistant from Scratch

In this blog post, we will set up text-to-speech (TTS) in Home Assistant using Node-RED. This is a powerful feature that allows your smart home system to announce important alerts, messages, or notifications. If you’re new to Home Assistant, it is an open-source home automation platform that focuses on privacy and local control.
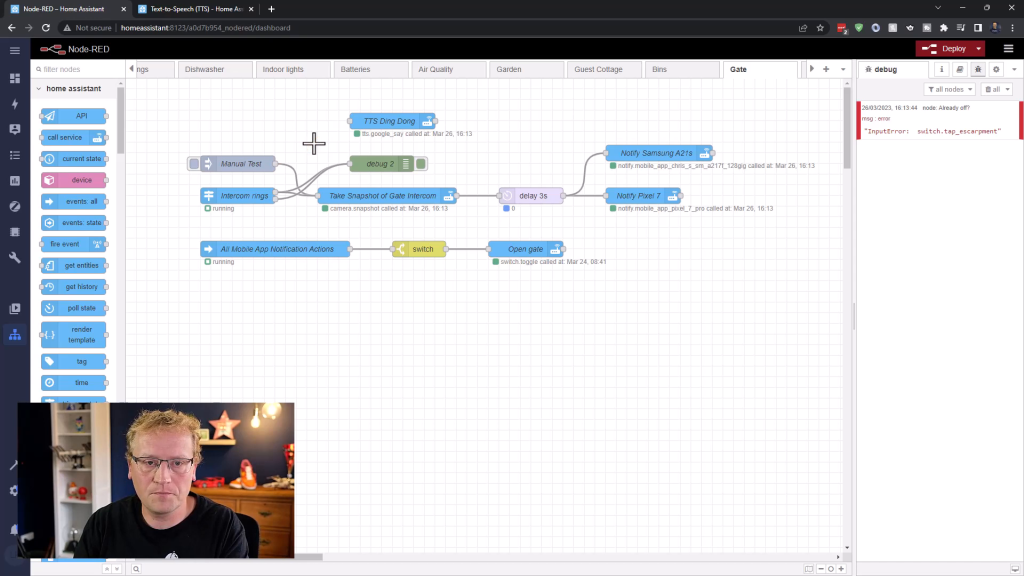
First, let’s enable text-to-speech for Home Assistant.

Enabling Text-to-Speech in Home Assistant

  1. In Home Assistant, go to the File editor.
  2. Add the following code snippet to your configuration.yaml file.
text_to_speech:
- platform: google_translate
cache: true
cache_dir: tts_cache
time_memory: 300
service_name: google_say
base_url: http://<IP:PORT_OF_HOME_ASSISTANT>

This snippet enables text-to-speech using Google Translate as the platform. It also caches some of the sentences to speed up the process and sets up the google_say service.
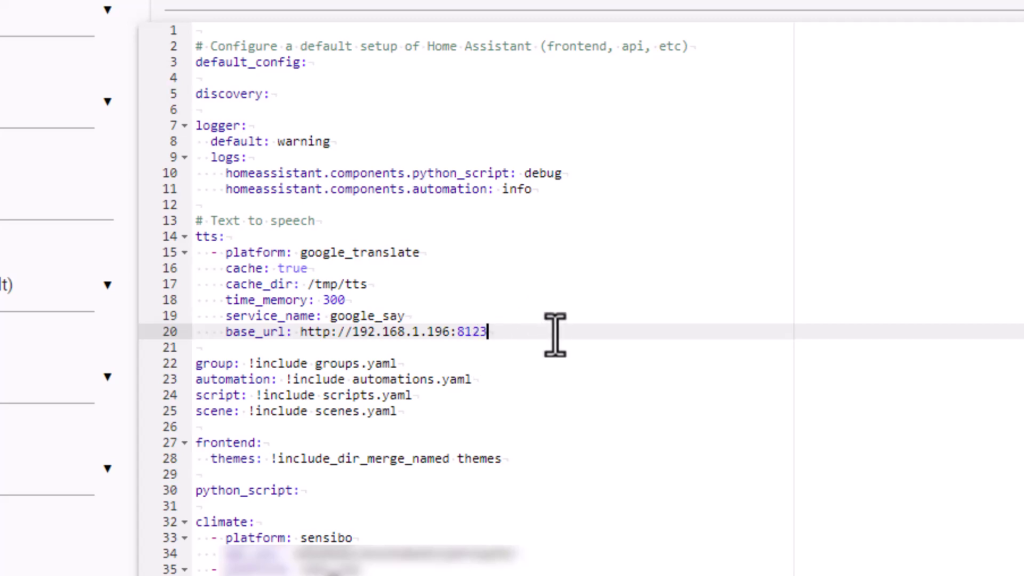
Don’t forget to replace <IP:PORT_OF_HOME_ASSISTANT> with the IP and port of your Home Assistant instance.

  1. Save the changes and restart Home Assistant.

Now that we have text-to-speech enabled, let’s use it in Node-RED. Continue Reading


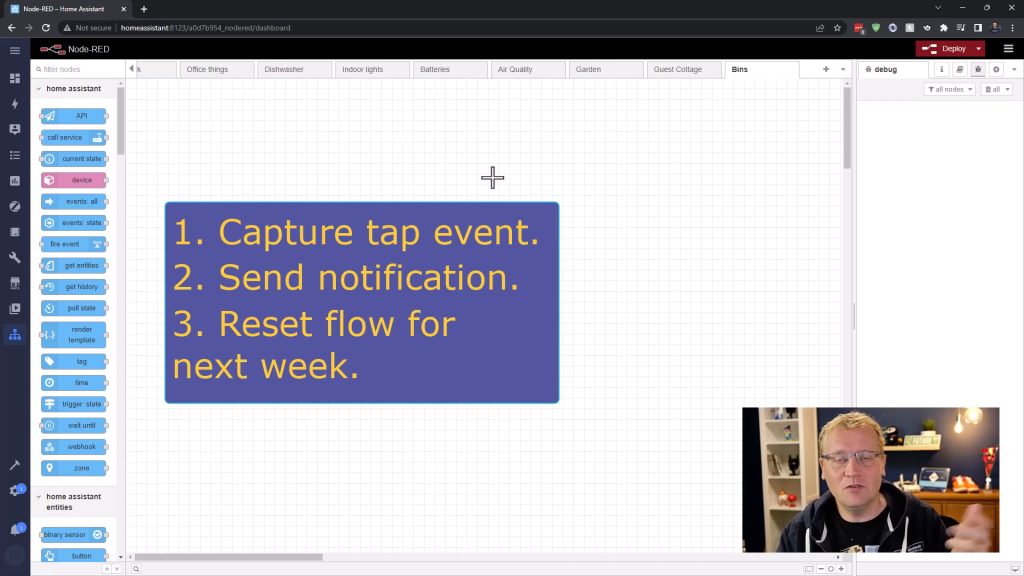
Using NFC tags in Home Assistant – Never forget bin day again!

This blog post is based on a transcript from a YouTube video that demonstrates a practical example of using NFC tags and Home Assistant to help you remember to take the bins out.

Do you often forget to put your bins out on the curb for collection? In this blog post, I will show you how to use NFC tags and Home Assistant to create a simple reminder system so that you never forget to take the bins down again.

NFC Tags and Home Assistant

Near Field Communication (NFC) tags are small, passive chips that do not require power. They can be activated when they come into contact with a compatible device, like a smartphone. In this example, we’ll attach an NFC tag to a bin and use Home Assistant to create an automation that reminds us to take the bins out.

Here’s an overview of the process:

  1. Attach an NFC tag to the bin.
  2. Register the tag with Home Assistant.
  3. Create automation in Home Assistant using Node-RED
  4. Set a reminder cycle for the bin collection day.

Continue Reading


Automating Gates with Home Assistant

It has been over 4 years in the making, but the new front gates on the farm are installed, wired, connected, and now I can open them from anywhere! Alright, let me rewind. In October 2018, we started thinking about rejuvenating the front street side of the farm, as it had a fence and gate from the 1970s, had never been maintained and was just neglected. I started my research with the gate itself, as that seemed to be the most complex due to my requirements, which included:

  • Remote opening via a FOB, or remote control. This should work from as long a distance as possible. Driving up to the gate should be as seamless as possible with minimum time waiting at the gate for it to open, and the house itself is about 100 meters from the gate.
  • Keypad entry with a PIN for guests, regular deliveries (such as gas trucks), and when we need to.
  • Remote opening via Home Assistant, so I can both open from my phone and use it in automation scenarios.
  • Powered via solar as that is all we have down near the road.

The journey took me through a lot of various companies and products, but I ended up deciding on the gate openers from BMGi in Queensland. Not only did they have a great product that could do all of the above (with slight modifications), but their support was amazing. All of my nerdy questions over a whole year were patiently answered. The gates themselves were custom made, but due to a perfect storm of Australian pandemic lockdowns, labour shortage, material shortages and more, it took almost two years to have them made. So, finally, a couple of months I could install it all (with help), and now it is amazing. It works perfectly as intended and I couldn’t be happier. And of course I made a video about the whole journey. Watch. Enjoy.


Saving money and the environment with home automation

Stemming from a small issue of leaving doors open I got a simple idea which could save both money and the environment. Yes, a bold claim so let me explain.

We have a cottage we rent out on Airbnb. That is all great, and we meet some lovely people that come to visit. However, for some strange reason, people will turn on the air conditioning in summer to cool the place down, but then leave the door open so all the cold air goes straight out. In winter the heater mode will be on the reverse cycle air con, and again the door open. Why? Really good question, but we have seen it at least 20-30 times. Not only does that get expensive (heating/cooling the outdoors), but what a waste of energy as well.

To fix this issue I deployed a simple solution using an Aqara door sensor, and a Sensibo air condition smart controller. Now the air con turns off if the door is open for more than 15 minutes. Job done.

Check out the full video for all the details.


Measuring Air Quality with Home Assistant

Good air quality is one of those things you take for granted until you don’t have it. Many places have degrading air quality due to pollution or natural disasters and Australia is no exception. Even here on the farm in the middle of nowhere we are impacted. A few years ago, bush fires were so bad that the smoke from hundreds of kilometres away came our way and ended up affecting us so badly we had to drive to the coast for a few nights. On top of that my other half is asthmatic and is affected even worse. For that reason I wanted to have an early warning system for the farm, so we would know the air quality was deteriorating before it got critical.

I got hold of an air quality sensor that monitors the level of particles smaller than 2.5 nanometers, CO2 levels, formaldehyde, volatile organic compounds, temperature and humidity. Below is the journey, which didn’t quite go to plan. Enjoy.


A smart lock that doesn’t need internet nor an app

Every once in a while a new product in the world of smart devices comes along that is just a little bit different. For me it has been the Shelly Wifi module, and the Unifi OS launched with the Dream Machine Pro. These aren’t necessarily things that will change the world, but devices that goes a bit against the grain to create either a better experience or fill in a niche gap somewhere. They are creative approaches to existing issues and solutions.

Recently I was sent two smart locks from Brad at sticklabs.io, a tiny company in rural America. It was a year long process from first contact with Brad until I installed the locks on the farm, but it was worth it. These locks don’t require an internet connection, nor a smartphone app, yet are still considered “smart”. It is an approach to cater for scenarios that are remote and provide access to people that you might never meet in person, yet still need access.

I liked the idea so much I filmed the entire install and setup process, which you can see below. I am very keen to hear your thoughts on how you could use it (or not).


Bluetooth in Home Assistant – It’s easy!!

Although I have added dozens of sensors to my farm measuring temperatures, water levels, light, weather and much more, I have done it all with Wi-Fi, Zigbee and cabling. Until now. I have been wondering about Bluetooth connections for a while, mainly because I was sent some SwitchBot devices by Oz Smart Things. I couldn’t get my head around how it would work with Home Assistant and the Raspberry Pi 4 I use. I thought I would have to somehow install more hardware, until I realised that the RP4 comes with Bluetooth out of the box, and Home Assistant just knows about it. I realised this when the integration showed up automatically a couple of months back.

Because I couldn’t get my head around it, I thought I would document how to do it all, from installing a Bluetooth extension cable for better coverage to using the SwitchBot temperature sensor. It is all in the video below. It is super easy. Enjoy.


Monitoring Water Tank Levels With Home Assistant

I have been getting into Home Assistant for automating and optimising the infrastructure on my farm for about a year now. One of that main reasons to initially investigate how to do this, was to monitor my water tanks. I have no town water connected, so I rely on rain water tanks and a bore/well for backup. Living in country Australia, it is east to suddenly use way more water than you think due to washing, pool filling, garden watering, leaks and much more.

The tanks are dispersed on the property, so checking them manually requires lots of walking, climbing, lifting and finagling. Having sensors showing levels, remote on/off for pumps and logic to automate it would save time, money and water. It took quite a while to figure out which solution to implement, but I ended up with pressure sensors/conducers to get a water pressure reading, then convert that to litres using mathematics. It was quite a journey, and the hardest to figure out was the house tank, as it is an in-ground tank. Measuring pressure at the bottom of it is tricky.

In any case, I documented the whole journey in the video below. Hope you find it helpful and leave a comment if you have a comment or question. ๐Ÿ˜Š


Aqara Door Sensor, Govee LED Strip and Home Assistant Automation

I am getting into home automation big time. I am loving the learning process, the tangible result and nerding with all sorts of processes. Most of it involves networking components, programming, new gadgets and an improvement of my every day life. All things I value very much.

In general I am looking for one or more of two principles when I install IoT devices or home automation

  • Save me energy, time or money. There should be a measurable saving somehow that justifies the often many hours of work.
  • Add a function or feature I am missing and would use regularly.

As tempting as it is sometimes to install something “just for fun”, it is most likely a waste of time. This time I needed lights in my server cupboard (which is just a cupboard that I happen to put the server cabinet in) and I figured I could automate it with Home Assistant and automation. I used a Govee Light Strip, an Aqara door sensor and community integrations in Home Assistant to get it all happening. Check out the video below.