

If you haven’t read about farm WiFi Version 1, do that first.
Here is what happened. I spend some hard earned dollars on getting two Unifi AP-LR units and two Unifi Outdoor Mesh APs, as well as a 24-port switch and a cloud key to upgrade my oh so patchy WiFi on my farm. I had great feedback on that post from all sorts of people. Some were keen to hear more, some questioned some of my setup (I am a total network newbie), and Ubiquiti also noticed.
They messaged me and asked for more details on what I was trying to do and what my plans were. And a couple of weeks later they send a “care package” with more Unifi toys. I am not getting paid to write anything, I am not promoting their products in any way I wouldn’t do anyway when I like something, and they certainly aren’t telling me what to write. It is just what nice companies do. It is a win-win, as I get new bits to play with, set up and evaluate. Ubiquiti get some real world feedback, some public promotion from the community and everyone is happy.
Initially I had planned on getting a Unifi Security Gateway to handle firewall, access rules and DHCP, as well as 2-3 cameras to cover some portion of the property. As it turned out, it became rather more than that.
Unifi sent me 5 cameras, 2 airMax NanoStations, a FlexHD, a Dream Machine Pro and a partridge in a pear tree. Extremely generous. Which meant that now the really hard work could begin.

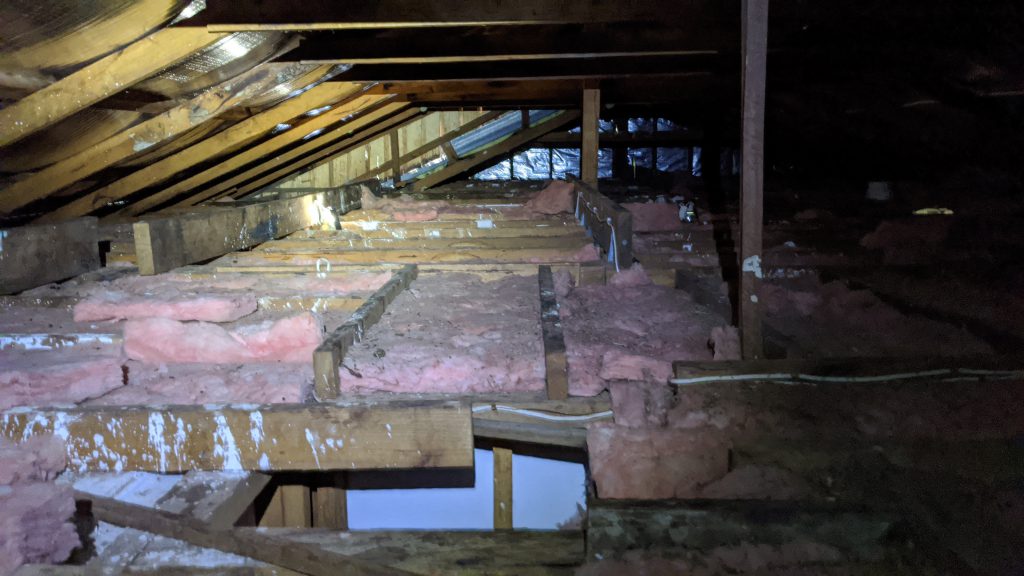
Roof, Rolls and Rodents
It is no secret that wired networks are both faster and more reliable than WiFi. The dedicated wiring just deliver a better experience for a network. On top of that, the cameras I received all require a wired connection and Power over Ethernet (PoE). This both presented a challenge and an opportunity. A challenge because I had to spend at least a day crawling through my roof space, crimping CAT6 plugs, testing cables and much more I had never done before. But an opportunity to do this properly and lay down Ethernet cables for future projects as well.
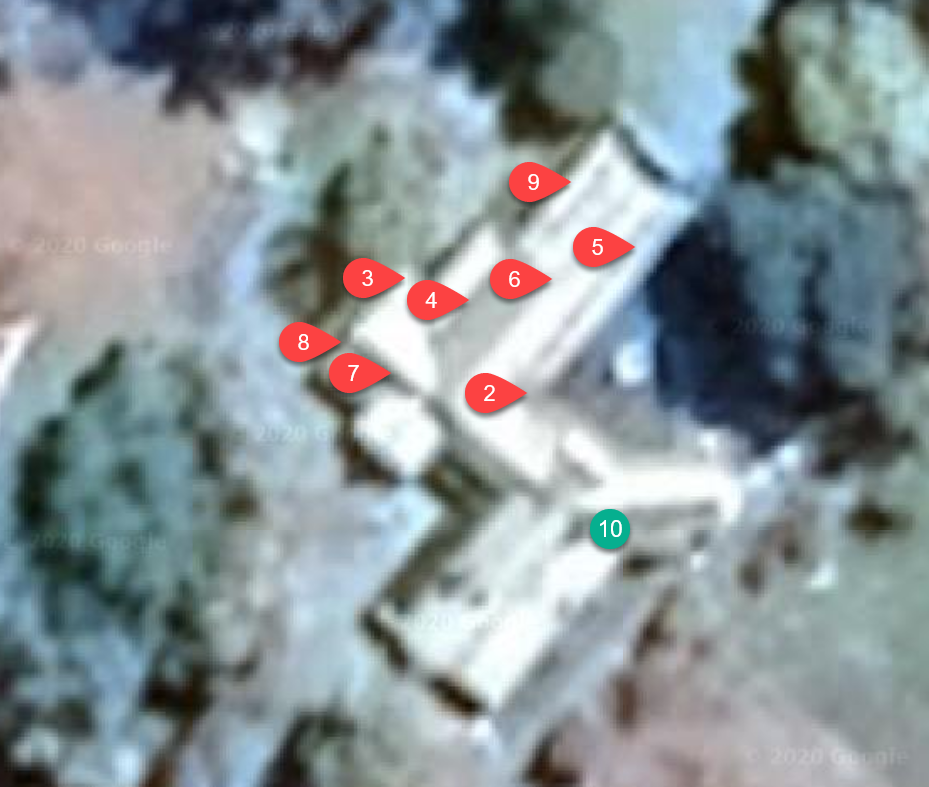
As the mud map below shows, I had 9 cables numbered 2-9 (yeah, numbers are hard), and the green 10 is my “server cupboard” (it is just a cupboard).
- 2: Pool Camera
- 3: NanoStation outside and access point inside
- 4: Front porch camera
- 5: Carport camera
- 6: Rumpus room wall plug
- 7: Media room wall plug
- 8: Garden camera
- 9: Spare connection for future project
All up I estimated that would be 260-ish meter of cable (about 14.4 miles I think). Which had to be dragged by me. Through possum crap, dusty decades old filth and very little head room. Oh joy.
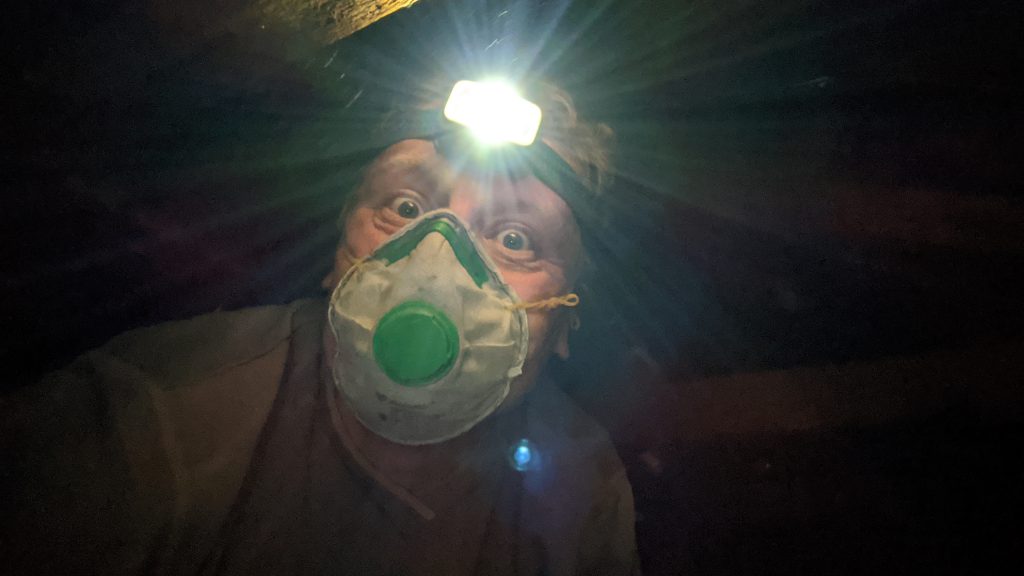
You might sit right now and nod in acknowledgment of my pain, or you might have this beautiful experience to come.
Lars, The Cableguy
An entire Saturday was spent dragging cable after cable from one end of the house (the server cupboard) to another destination in the other end of the house. The cables coming down through the ceiling were the easy ones. Just drill a hole and stick it through. The cables going to cameras outside and for the NanoStation were a bit trickier, as I wanted them to be as hidden as possible. That meant crawling into the tightest of space to get the exit point right in a corner or as close to the device as possible. However, the wall plugs were the painful ones. Getting a cable first through two attic spaces, then down the inside of a wall is hard. And frustrating. Luckily in Australia, our hoses are built of cardboard and chicken wire, so there is some room to pass the cable through.
By doing the dirty work myself, I did save over AUD1,000, which can then go towards more Unifi equipment 🤓.
Dream Machine Pro
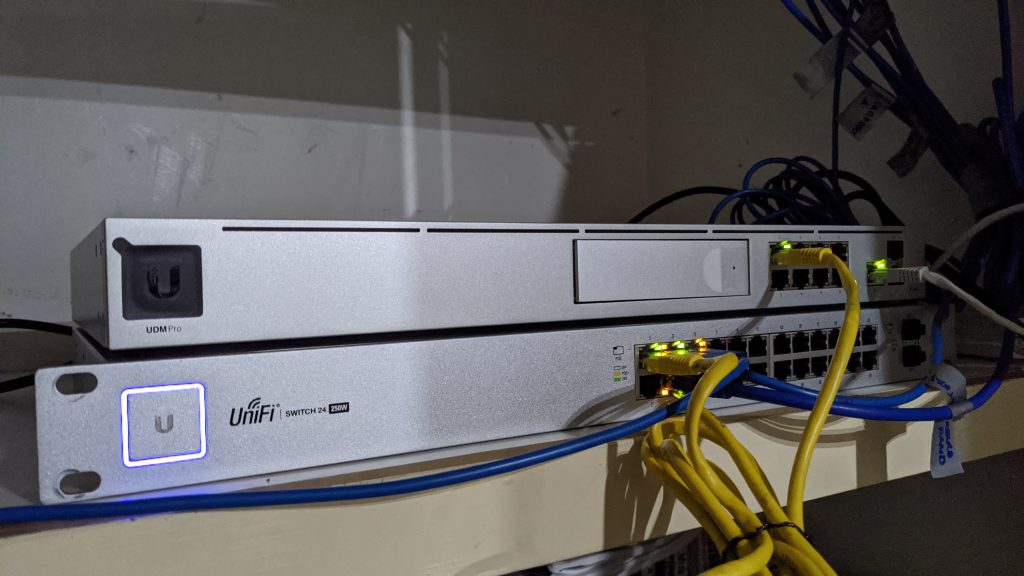
Where do all these cables go then? They go to my 24-port PoE Switch which is finally getting some decent traffic to it. But the switch was also part of version 1 of the farm WiFi. The real change is the new Unifi Dream Machine Pro. This is a security gateway, cloud key, Unifi Protect enabler (more on that later) and 8-port switch all in one device. I needed the security gateway to get rid of my old router, and to run cameras I had to install/configure/conjure Unifi Protect somehow. This was an excellent solution.
The UDM-PRO is a a “rack server dimensions” unit. It’s large. If you aren’t familiar with rack mounted devices (I wasn’t) it is a 1 RU size with a depth of 286.5mm, which means it takes up 1 unit in a server rack. My 24-port switch also takes up 1 RU. My first impressions of the device and the packaging is attention to details. Everything is so neat.
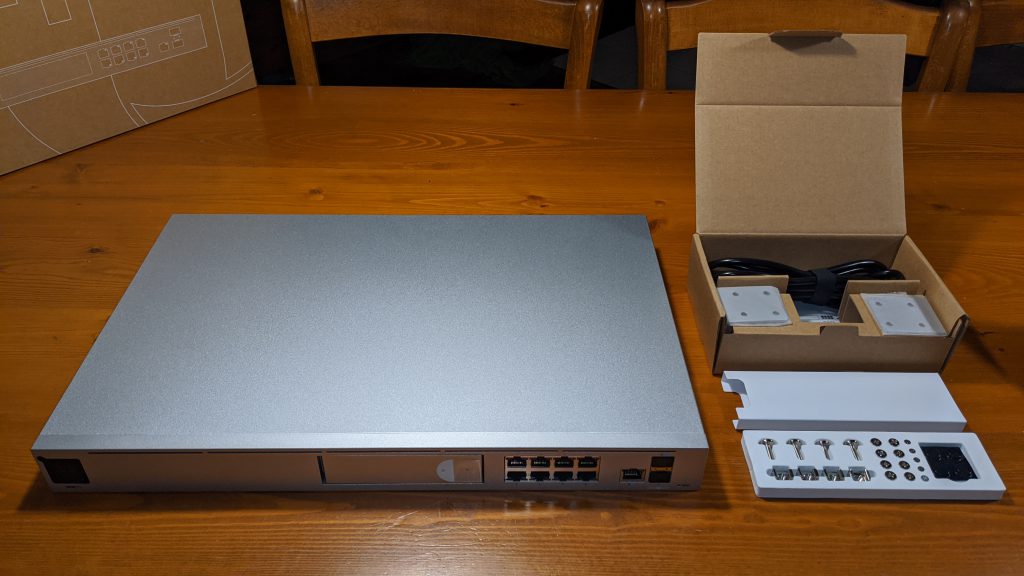
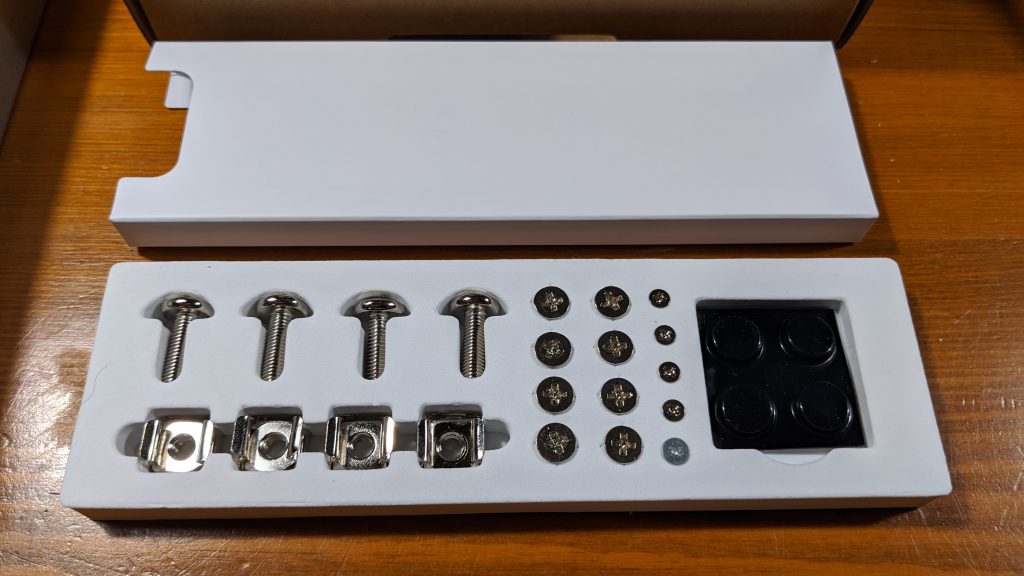
Notice that box of screws? This pleases my OCD to no end. Everything has a place.
I placed the UDM-PRO in my server cupboard along with my 24-port switch in a kind of “this will have to do for now” location. Notice the bunch of CAT6 cables coming from above with highly technical duct tape labels on them? Those are all the connections from the roof space.
So I plugged it in, and then the fun could begin. And by fun I mean I have no idea what I am doing. Remember the first version of the farm WiFi used a Cloud Key gen 1, which has all of the network setup and configuration, it owns the access points and it has my profile on it. I somehow needed to move that across to the UDM-PRO. There is a migration path, but to be honest I was happy to redo the whole thing. It was only three access points to start with a not a whole lot of historic data. Still, I did a backup of the Cloud Key with the intention of restoring it to the UDM-PRO. Silly me.
I laughed at the quick-start instructions for the setup of the UDM-PRO, which had two steps, and put it away. Mistake. Wondering how I should connect to the UDM-PRO from my laptop I found an old USB-to-Ethernet adapter and plugged it in directly. Immediately the browser fired up and started the setup process. How easy!
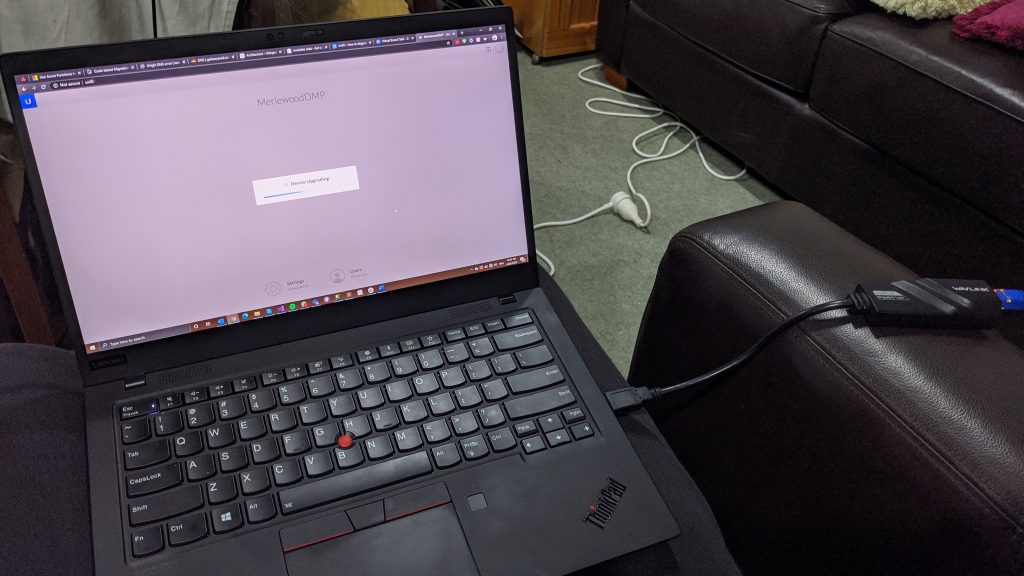
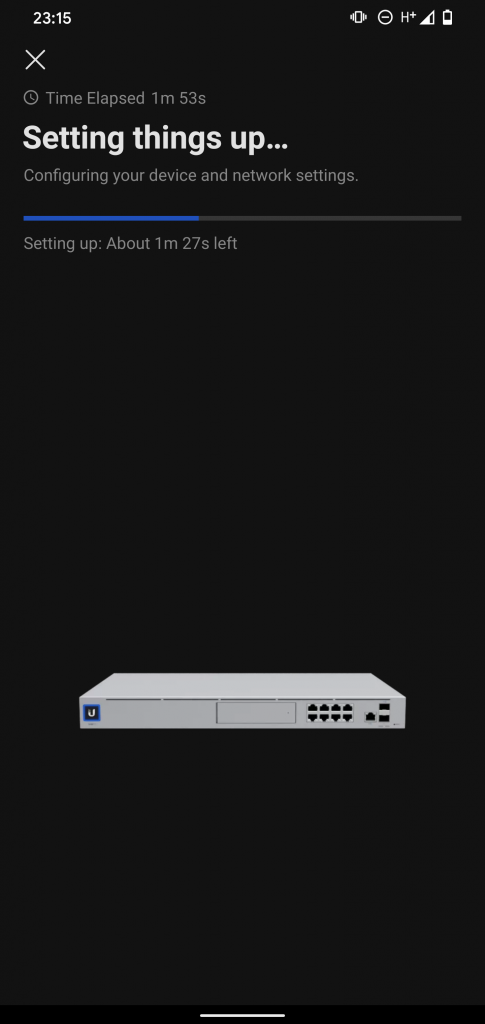
It went some way through the setup, but was constantly losing internet connection throughout the setup wizard. Every time it would exit the setup and then either go a step back or make me fill in things again. Frustrating! It then occurred to me to look at the quick start guide (because there was nothing quick about doing it the current way). Sure enough. The best way was using the Unifi app and then connect via Bluetooth. It took roughly 5 minutes.
Tadaaaa! The UDM-PRO was up and running. Sort of. It was now up and running and I was logged in, but I had no access points connected. The plan: To restore the backup from the Cloud Key made an hour earlier, thus magically getting all my access points migrated across. In theory a beautiful and elegant plan. In practice, foiled by versioning incompatibility. For some reason, the same version wasn’t compatible between the two devices. Meh.
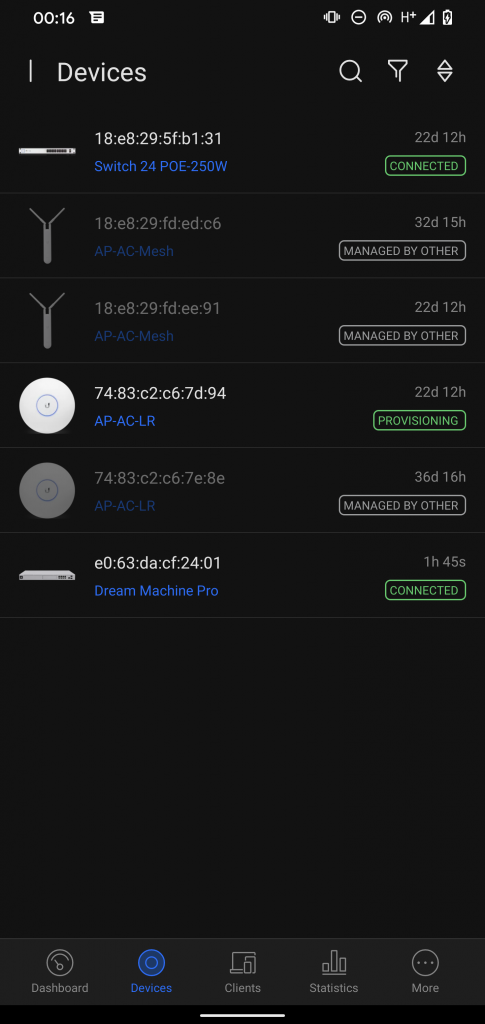
Instead I now had to get the access points disowned by the old Cloud Key and then adopted by the new UDM-PRO. Luckily there is a delightfully nerdy way to do this. SSH to the access point, then log in with magic credentials and “steal” the device. Snap! There is even an official Unifi help doc on how to do it. In no time I had retrieved my access points and the network was up and running as before.
Cameras, Cameras, Cameras
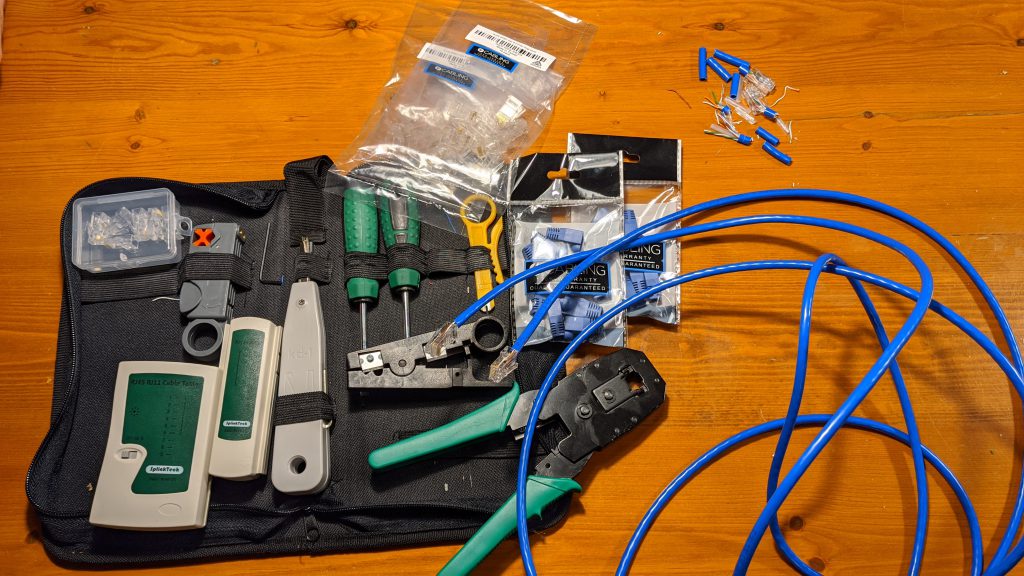
One of the advantages of the 24-port switch, apart from there being 24 ports, is that all ports provide power over Ethernet (PoE). The five cameras I got were all powered by PoE, which is excellent as you don’t need a power plug where you install them, however, you do need a CAT6 cable attached to the switch. Hence the dragging of some 300 meters of cable in my roof space. And crimping of 16 RJ45 plugs (plus the ones I messed up).
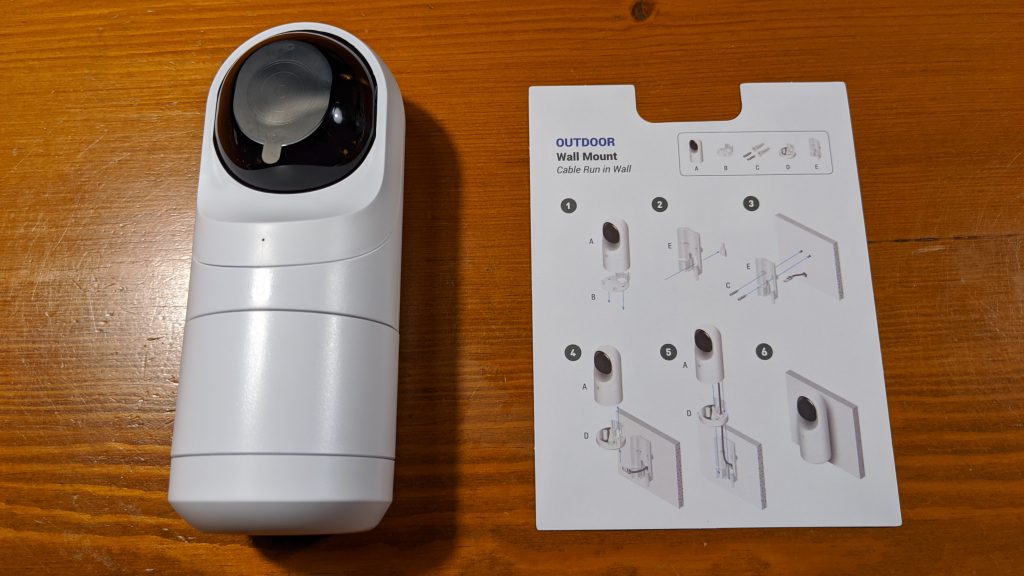
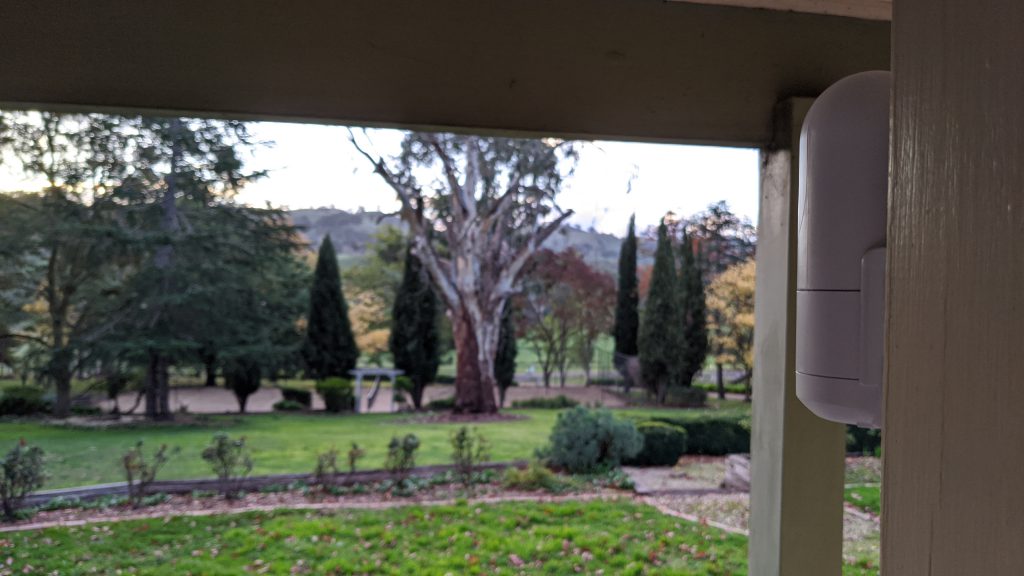
The first camera to get some life was one of the three G3 Flex. This is the entry level (cheapest) camera that Unifi offers. It is a very small unit that gives 1080p resolution and can move both up and down, left and right. It can be mounted inside and outside, upside down, on a wall, on a pole, pretty much anywhere you need it. It is a very flexible camera (see what I did there 😏).
As with most other Unifi equipment, once you plug the device in, the installation is super easy. But! There is a but. While all the access points, switch and UDM-PRO are part of the “Network” application within the Unifi eco-system, cameras are part of the “Protect” application. Which you have to install on the UDM-PRO before cameras can be recognised and installed. And to install the Protect app you need a hard drive on which all the footage is recorded.
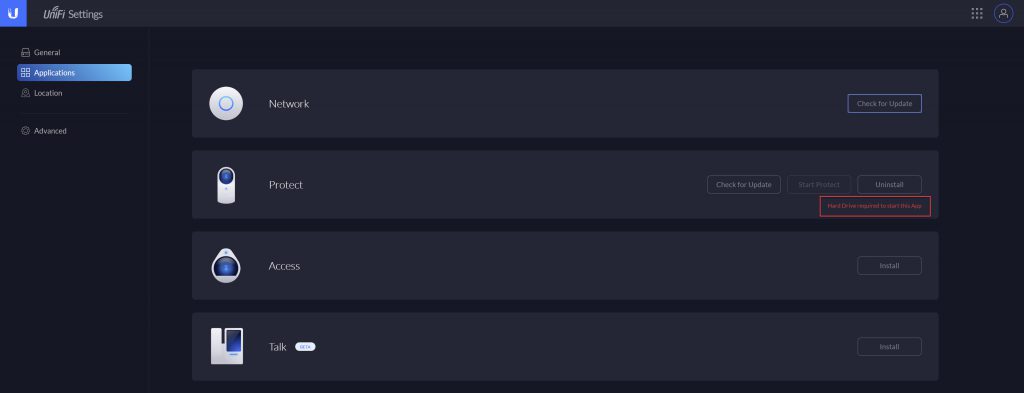
I managed to find the right hard drive the day after (it has to be a NAS/Surveillance model), which slots right into the tray on the front of the UDM-PRO and voila! Cameras are then identified.
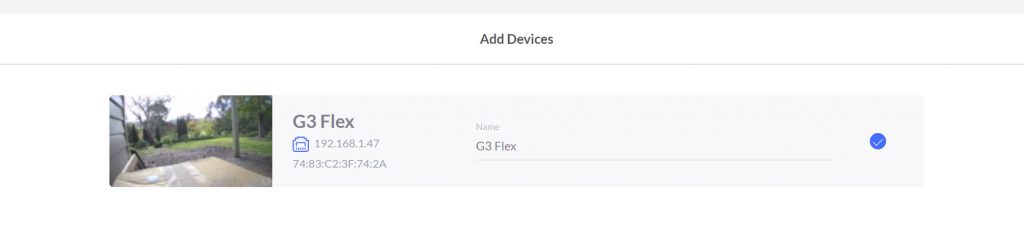
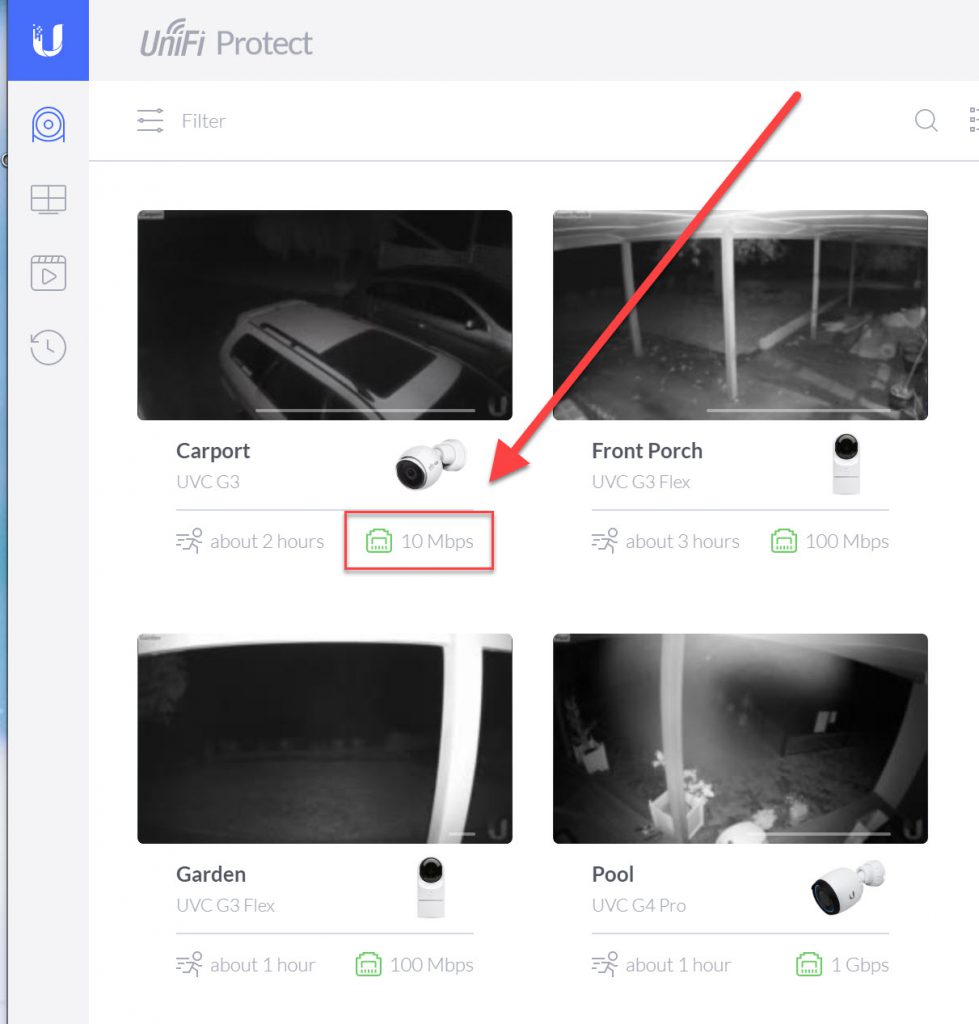
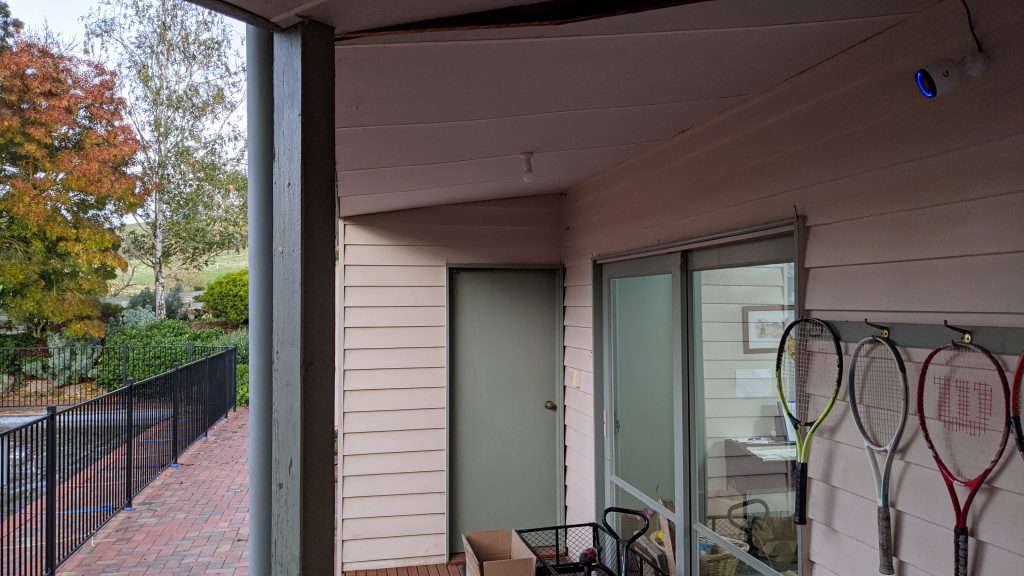
The camera is automatically adopted and configured and starts working within minutes. I put up another G3 Flex overlooking the garden, a G3 Pro in the car port and a G4 Pro for the pool and our normal entrance. That gave me 4 cameras overlooking most of the outside of the house. However, I noticed an alert from the carport G3 Pro camera and found out it only runs 10 Mbps. It should be running 100 Mbps. I can only assume it is one of my rubbish RJ45 plug jobs that is causing it. For now, it is a problem for future Lars.
What’s Next?
As you might have noticed on the map of the house above, I installed a NanoStation M2 as well. This is a point-to-point super long distance WiFi transmitter with a range of up to 15-20km. Yeah. Of course, I need something to receive the signal I am transmitting all the way to…. my gate. Yes, I want a camera at our gate, but there is no power there. So, NanoStation powered by solar with PoE out to a camera. Or something. The details are vague, but at least I have a signal beaming out now. Just need to catch it….
And then I am working on a solution to automatically measure the level of water in our bore tank, and if low, right time of day and day of week, then automatically start the bore pump to fill it. That will require some connection and IoT devices for sure.
I also hear that Unifi now make lights…..
Next, I figured out how to power a Unifi camera with solar.